More help and information about Google Maps can be obtained from
the Google Maps website, located at:
http://maps.google.ca/support/?hl=en_CA
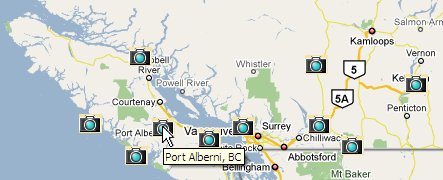
With the Google Maps interface, finding a site involves knowing its geographical location within Canada. For example, to find the Port Alberni site, the map must be centered over South West British Columbia, and then zoomed in until the camera icon over the geographic location of Port Alberni is visible.
To confirm that a specific camera icon represents the desired site, hover the mouse pointer over the camera icon. An info tool tip pops up displaying the site name
The map can be zoomed into a specific province, using the View Selection drop-down at the top of the page.
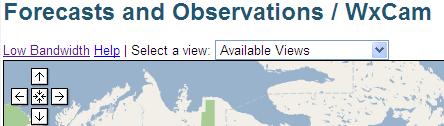
Click the drop-down with the words "Available Views", scroll to the desired province, and select it. The main map will zoom in to the selected province.
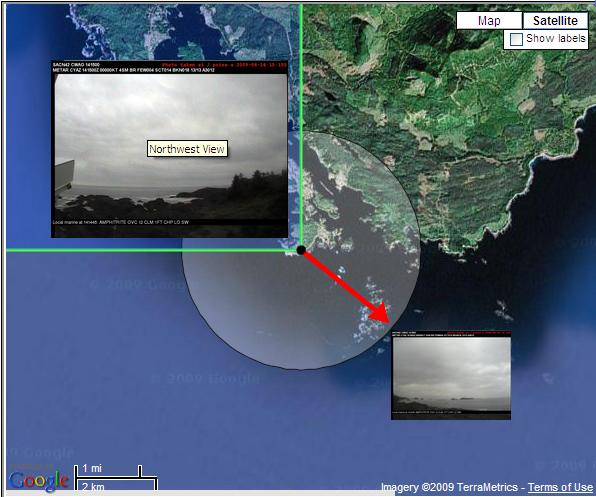
Once a site has been found, click on its camera icon to view the list of cameras at that site. Clicking on the camera icon will open a floating window which shows a zoom-in on the site, and thumbnail images for each camera at that site.

There are two methods for determining the camera viewing angle. The first is to examine the red arrow on the site pop-up window that points to the thumbnail image in question. The red arrow indicates the direction of the camera view. The site pop-up is centered over the exact location of the weather cameras.
The second method is to move the mouse over the thumbnail image in question. The red arrow disappears and a green angle appears which represents the viewing angle. The camera is located at the angle's intersection.
The following images can be viewed from every camera in the system (when available):
To view a camera's images, find the camera icon representing the site at which the camera is installed, and click that camera icon. Once the pop-up window appears with thumbnail images for every camera at the site, select the desired camera by clicking on the thumbnail. This loads the corresponding Camera Site Page for that camera.
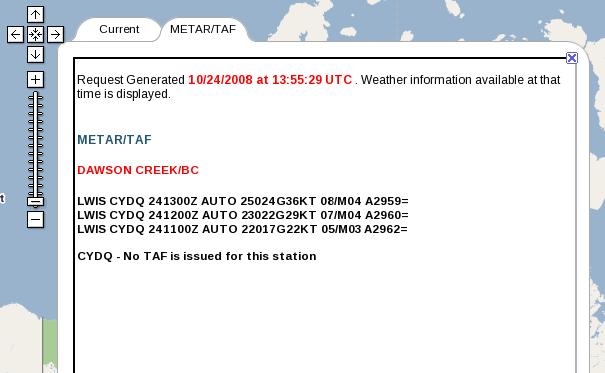
To view the latest weather reports for a specific site, find the camera icon representing the desired site, and click that camera icon. A window pops up containing two tabs: A zoomed-in view of the site with current images from all cameras (this is displayed by default), and; A weather message page, labelled "METAR/TAF". Clicking the second tab brings up the page of weather reports.
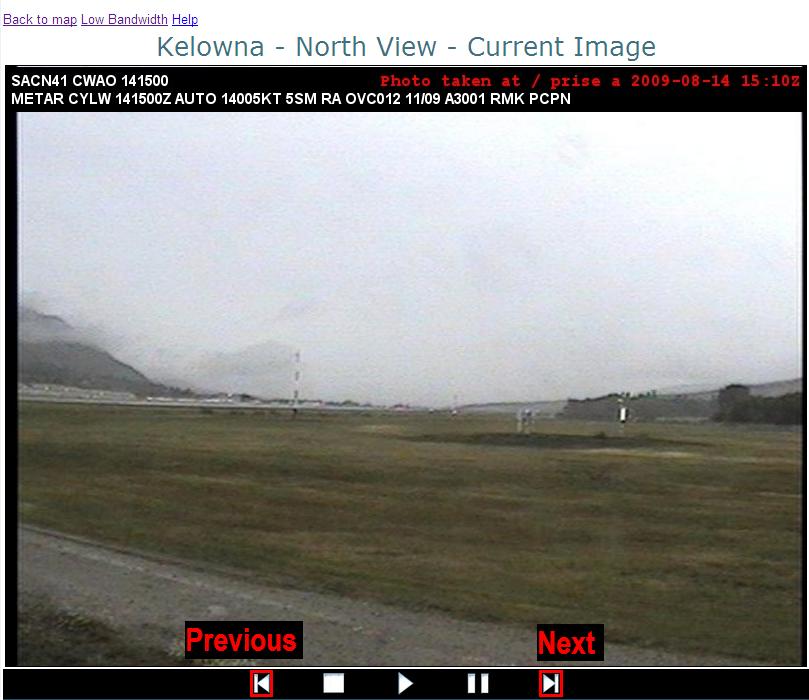
The current image is displayed by default once the Camera Site Page is accessed.
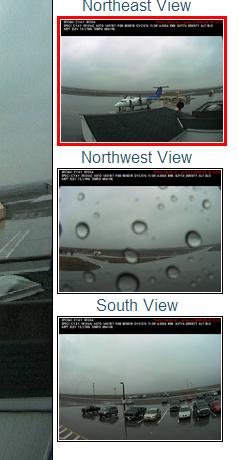
Each image has a timestamp labelled in red font across its top border. The timestamp indicates, in UTC, when the image was taken. Each image also has a weather observation printed in white font across its top border, just below the timestamp. If a weather observation is not available for the current time period at the selected site, the message: "Weather Observation Not Available" will be displayed.
The image viewer's "forward" and "previous" buttons can be used to cycle through all seven camera images (the current and the previous six).
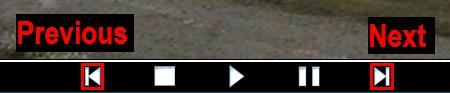
From the Camera Site Page, the past hour of camera images can be viewed using the Image Viewer.
By default, the current image is presented once the Camera Site Page is loaded. To view the six previous images, click the viewer's play button.

The viewer's "pause" button may be clicked to pause the playback

To stop playback and reset the image to the current image, click the player's stop button, or the image thumbnail in the right-hand side of the screen.

The image viewer's "forward" and "previous" buttons may be used to cycle through the six images without using the playback feature.
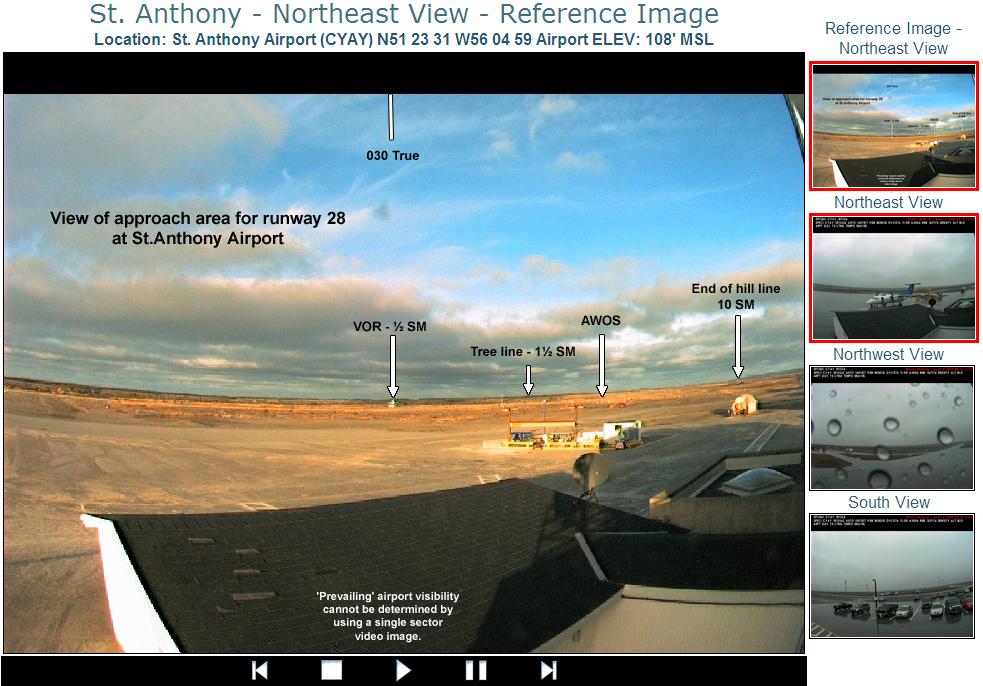
From the Camera Site Page, the clear visiblity reference image can be viewed by clicking on its thumbnail on the right hand side of the page. The reference image replaces the current image in the Image Viewer. When selected, the thumbnails for both the reference image and the associated camera will have a red border.
If available for the selected camera, the reference image markers can be laid over the current selected "live" image (as if the reference image background was transparent). To enable this feature, check the "Image Overlay" box when an image is visible. Note that the overlay image will not show while the reference image is visible.
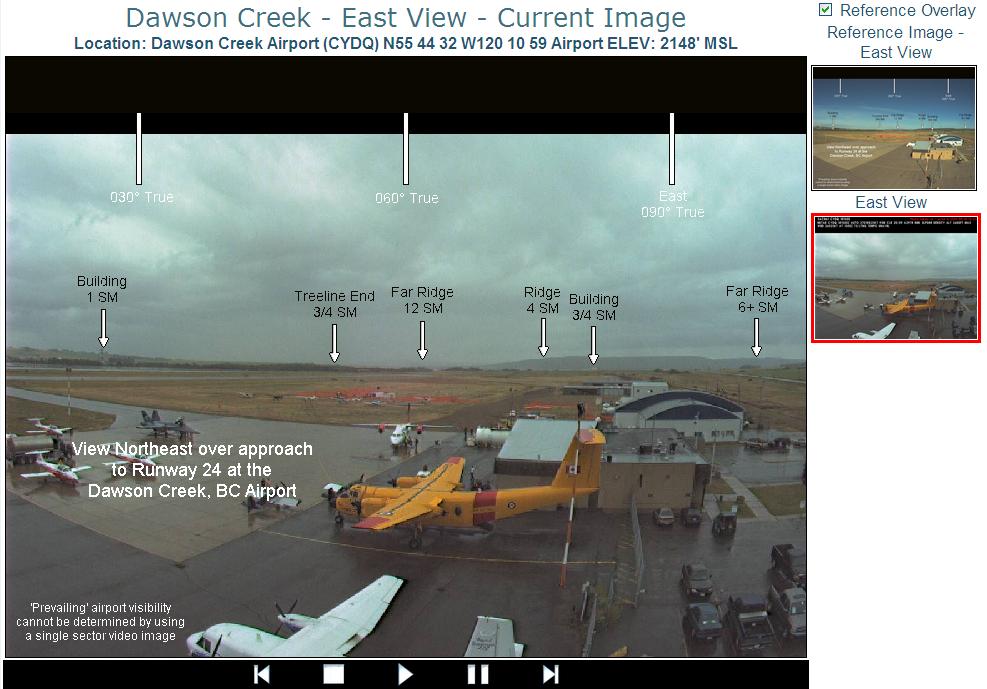
From the Camera Site Page, other camera's images may be viewed by clicking on their thumbnail on the right hand side of the page. The thumbnail of the selected view will be highlighted with a red border, and the current image from that view will be presented in the Image Player.
To return to the WxCam Home page from the Camera Site Page, click the "Back to map" link at the top of the page. of the page.
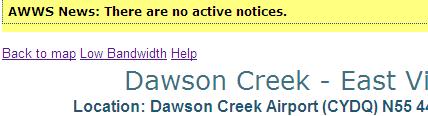
A faster, "low-bandwidth" option is available for all parts of the site. If you are experiencing difficulties loading the Google Maps, you may click the "goto low bandwidth" link at the top of the page. The page will reload with the low-bandwidth site.